Alaia Wooden Surfboard project: Post 1 | Post 2 | Post 3 | Post 4 | Post 5 | Post 6 | Post 6b | Post 7 | Post 8 Finis
 Significant progress this weekend with the Alaia project. I cut the board to shape with a jigsaw, working in one direction. I said in the previous post that I wouldn’t cut the Stuth tail, but I had a change of heart. I like the side-cut it creates and given my 24 years of snowboarding I’m drawn to that shape (yeah, I’m that old and have boarded that long!).
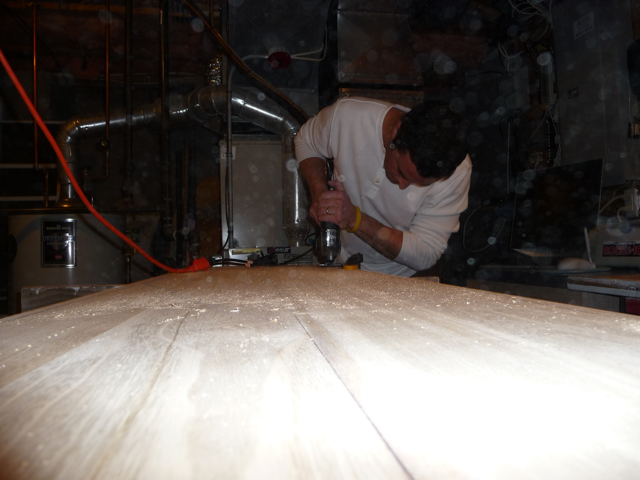
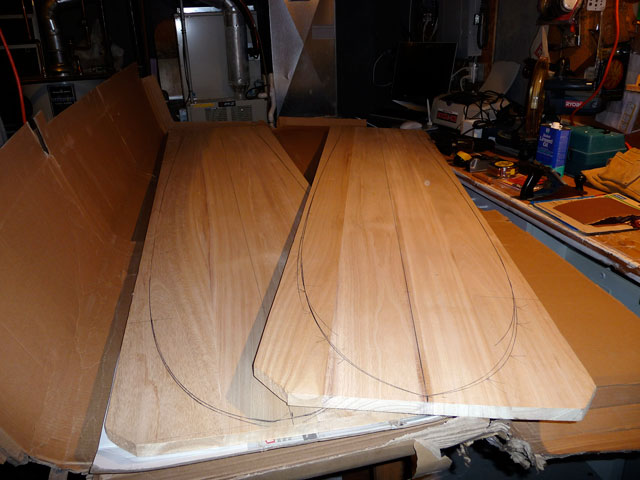
Because the board needed to be clamped and un-clamped (3 times) I made cuts on either side of the board, with 90° cuts to remove material as I progressed. After the jigsaw work was done I used my belt sander to fine-tune the edges to get a uniform ~3mm distance from Jon’s marks (as explained in post 2).
 Once I was satisfied with the shape, I used a pocket plane to put a 1/4″ bevel on the top edge (you can apply very light pressure since the Paulownia wood is so soft). Holding the plane at 45° and moving in one direction, I cut until Jon’s marks were no longer visible. After inspecting and small tweaks I flipped the board and transferred the center line which I’ll use to create the concave. I also transferred 3 perpendicular markings from the top of the board at 12″, 40.5″ and 70″ from the nose. I believe these marks were used to create the shape, but it can’t hurt to have them on the bottom.
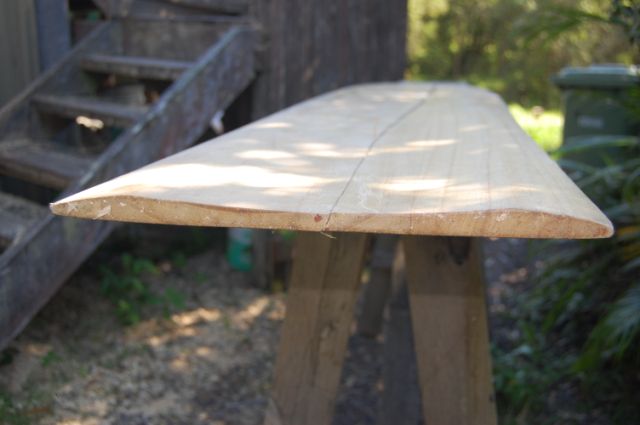
![]() Next I’ll work on the hardest part, the concave. Jon told me the concave should start about a third of the way down the board and Tom gave me some advice on how wide.
Next I’ll work on the hardest part, the concave. Jon told me the concave should start about a third of the way down the board and Tom gave me some advice on how wide.
The board currently measures 7′ x 17 1/2″ x 3/4″. After the concave I’ll start sanding the entire board from coarse to fine grit, getting it as smooth as possible. After that I’ll oil (linseed) over the course of several days. I’ll apply 3-4 times and before each application I’ll do some light sanding to make it as slick as possible! 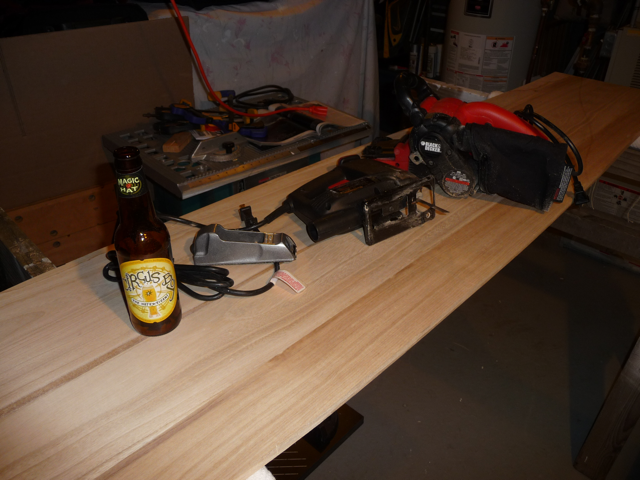 These are the tools I used for this phase (a special thank you to Circus Boy, for without it, none of this would have been possible).
As always, check back for pictures and updates. Please also post your comments and advice. I’d really like to know if anyone else has worked on shaping their own wooden boards or intends to try.
Posted by: Lawrence

 When completed, the Finley should have, according to Wegener Surfboard’s model description, “a light roll on the deck and a concave running from the nose all the way to the tail. The concave is 3/8” deep.” (Note: Jon recommended I keep more material on the board and stay within 1/4″) “This really helps keep the board from sliding sideways too much and gives the board more traction in the face.

 Why would someone have a dog if they didn’t have time for it? Dogs need time to be outside, smell stuff, pee on stuff, roll around on stuff – it’s called being a dog. Can’t people put on a coat and put their “day-to-day activities” on hold for 30 minutes? Who wants to diaper a dog and shut themselves in for only the most agreeable conditions?